Cone measuring mandrels and rings
Cone measuring mandrels and rings
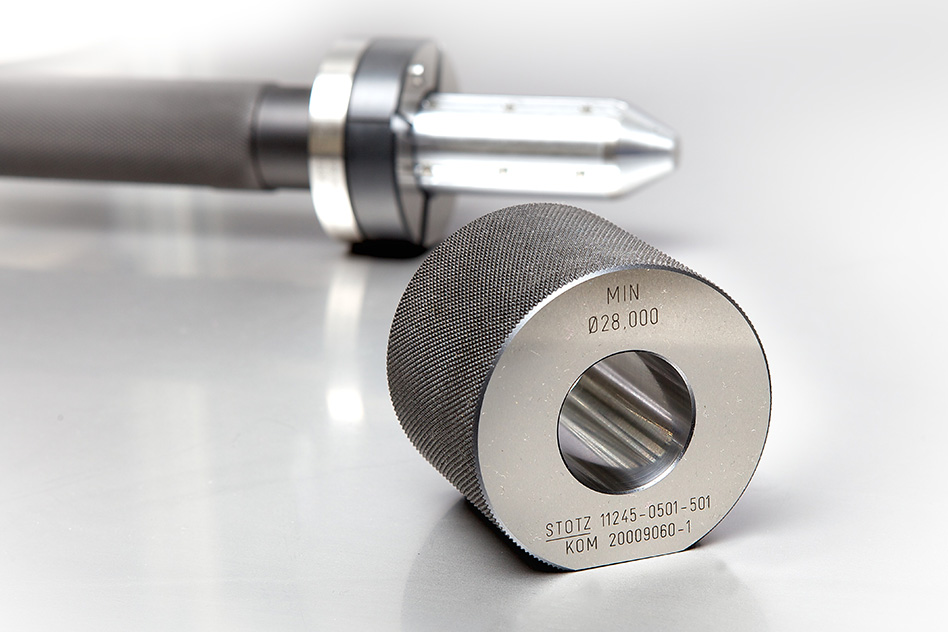
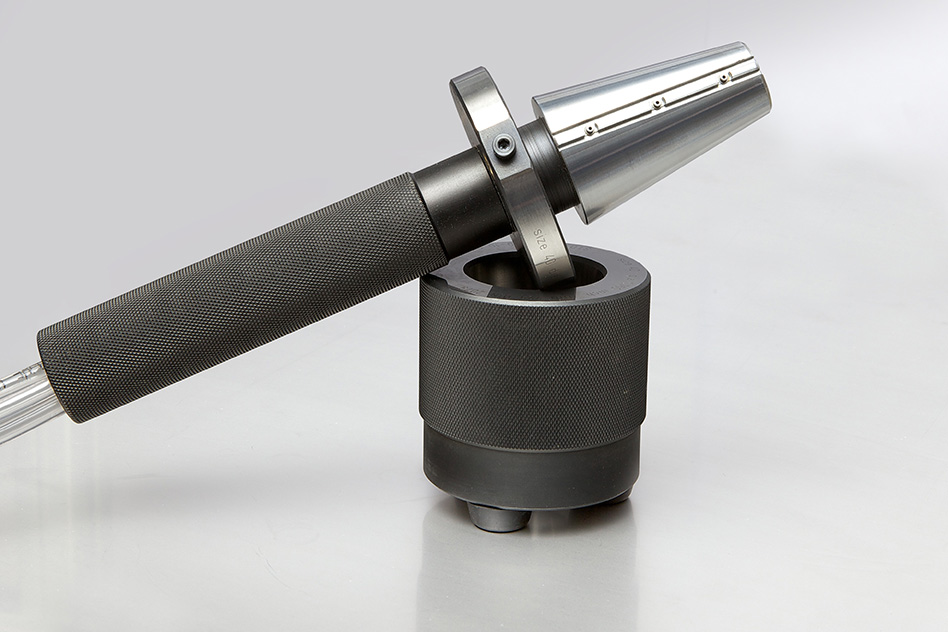
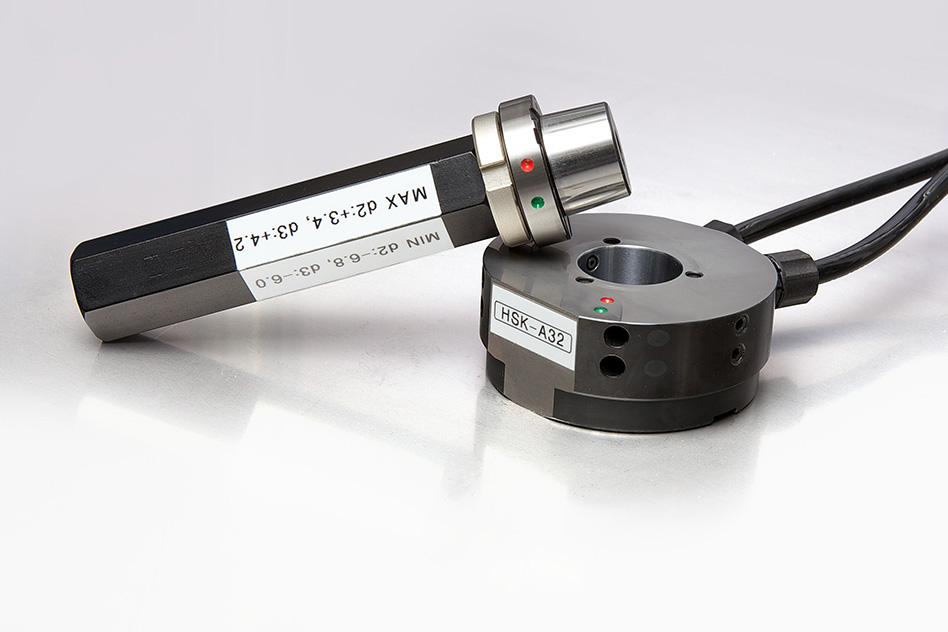
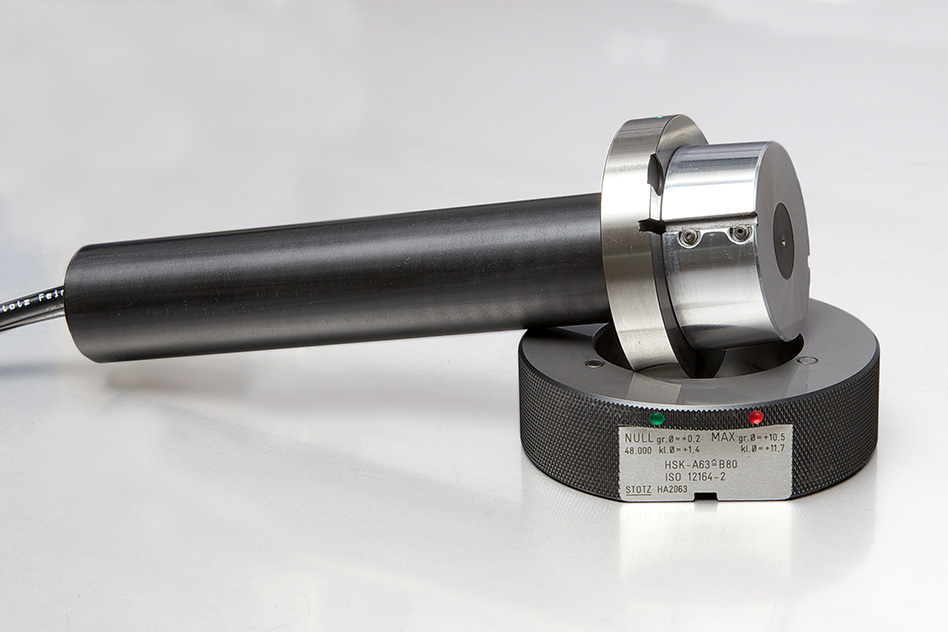
Pneumatic cone measuring instruments from STOTZ Feinmesstechnik GmbH are primarily used in manufacturing for fast and accurate measurement of internal and external cones.
In addition to standard cone norms such as SK and HSK, we specialize in producing custom designs (polygon cones) at STOTZ Feinmesstechnik GmbH.
The widely used quick-change standard “Capto” has also been manufactured by us, and with the appropriate STOTZ evaluation unit, you can precisely control your production.
Furthermore, using air for measurement helps protect the surface of the components.
The use of pneumatic measuring instruments with open nozzles is recommended for surface roughness values up to ≤ Rz 6.3. For Rz values above 6.3, spring contacts are used for measurement. They are also well-suited for capturing multiple measurement planes in a single operation. STOTZ measuring instruments are of high quality, durable, and cost-effective.
To evaluate your results, you will need a suitable STOTZ P/E converter (digital/analog) or one of our measurement computers with measurement connections. For inquiries regarding custom designs, we require the following information from you:
- Cone diameter + tolerance
- Cone length + tolerance
- Cone angle + tolerance
- Distance + tolerance
- Rz value
- Number of measurement planes
- Location of measurement planes Specifications:
- Diameter range: from 6 mm to approximately 250 mm (custom ranges possible)
- Mandrel length: Adapted to desired norm (custom lengths possible)
- Nozzle type: Round nozzles, spring contact, slot nozzles
- Nozzle arrangement: Opposite (180°), 90° / 120° division upon request
- Multiple measurement planes: Multi-stage design (custom designs possible)
- Measurement ranges: from 10μm – 180μm (other ranges available upon request)
- Repeatability: from 0.05 µm
- Accessories: Handle, quick-change system, protective case
- Measurement air shut-off: Measurement air shut-off is recommended for the STOTZ measurement computer
It allows for storage of the measuring instrument after measurement and can reduce your air consumption by up to 90%.


