Setting masters
Setting Master
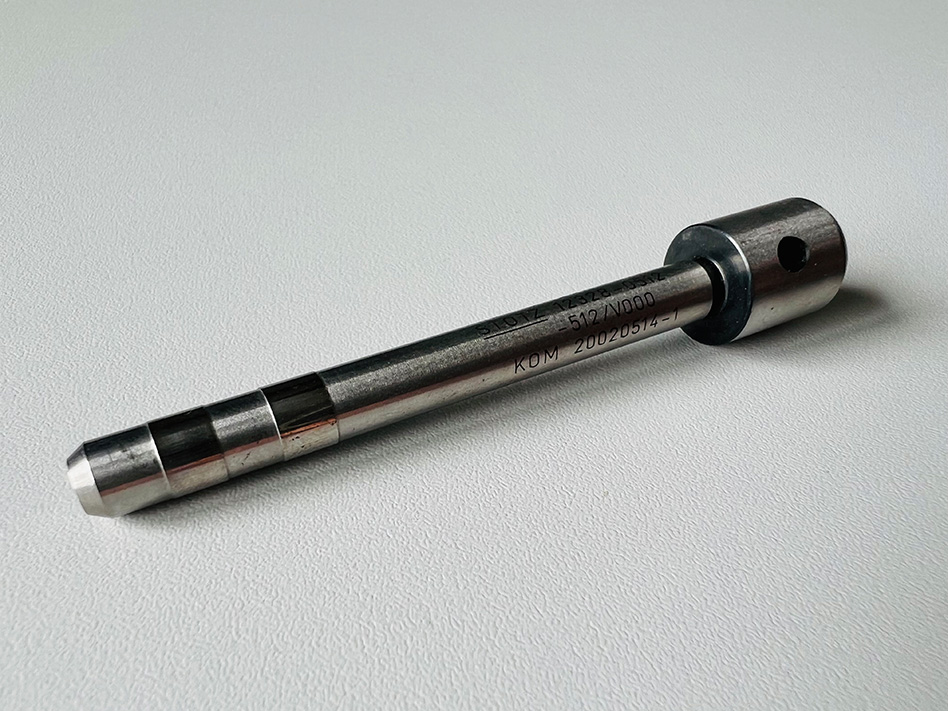
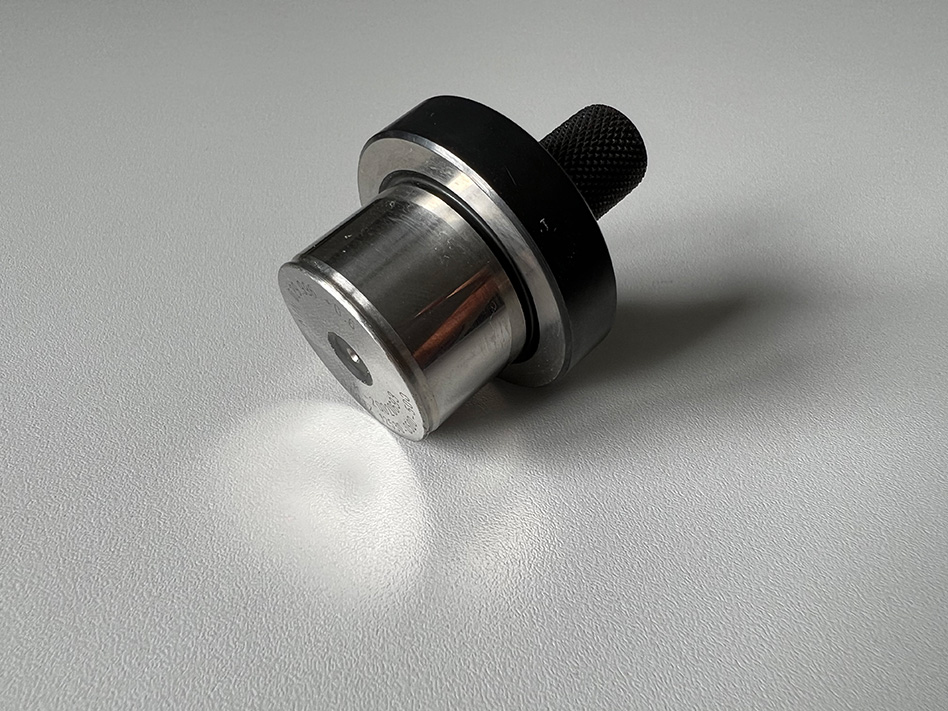
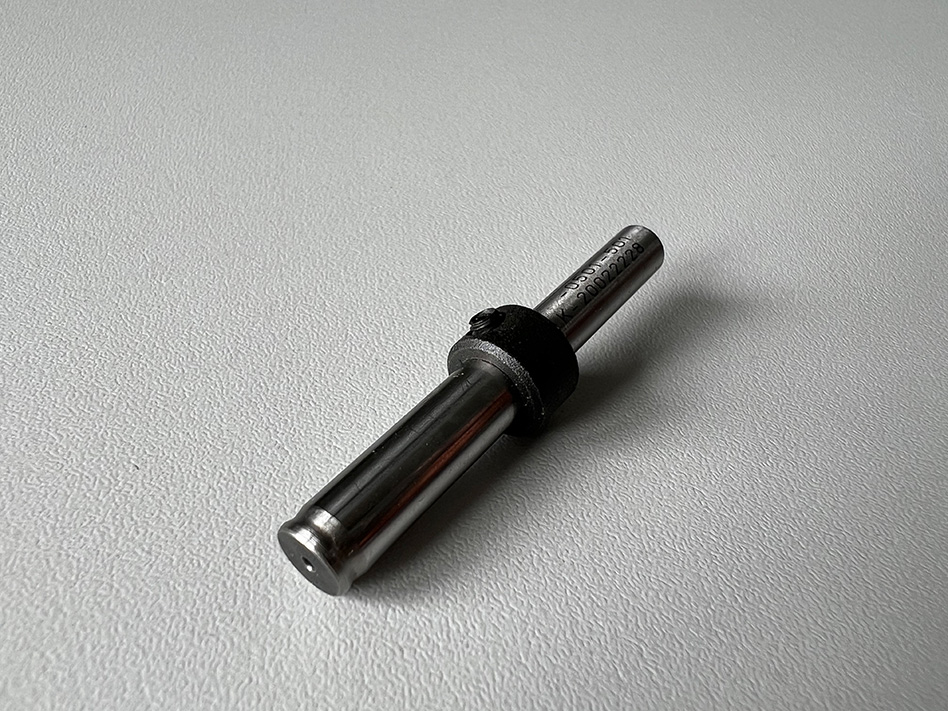
Setting masters are used to calibrate STOTZ measuring instruments in order to perform accurate comparative measurements.
It is equally important to know the actual dimension of the setting master in order to do so. By default, two setting masters are required for calibrating pneumatic measuring instruments. The division is based on the MIN and MAX calibration dimensions.
The masters are dimensionally set at the lower and upper tolerance limits of the workpiece being measured. Each setting master ordered from STOTZ comes with a valid test certificate. For calibrating machines and systems, we can also produce setting masters with approximate or exact workpiece geometry at STOTZ.
To request a setting master, we need the following data from you:
- Diameter + tolerance
- Length + tolerance
- Form and positional tolerances
- Number of measuring levels
- Position of measuring levels Specifications
- Diameter range: from 0.6 mm to 250 mm (special sizes upon request)
- Roundness: from 0.1 µm
- Parallelism: from 0.1 µm
- Straightness: from 0.1 µm


